How to Get Food Coloring Out of Table: Easy Stain Removal Guide
Few things are as startling as watching a vibrant pool of food coloring spread across the pristine surface of your dining table. Whether it is from a dripping glass of colored milk, an escaped sprinkle of colorful sprinkles, or a creative art project gone wrong, these stains can seem impossible to remove. However, with the right approach and a few household allies, you can effectively restore your table's finish without causing any damage.
Assess the Surface Material First
The most critical step in tackling any stain is identifying the type of table surface you are dealing with. The method for removing food coloring from a sealed laminate table differs significantly from treating raw wood or a finished veneer. Applying a harsh solvent to a delicate surface can strip the protective finish, leading to more significant damage than the original stain. Always test any cleaning solution on a small, inconspicuous area before proceeding with the full treatment.
For Laminate and Finished Wood
Durable surfaces like laminate and finished wood are generally resistant to stains, making them relatively easy to clean. Because the coloring sits on top of the finish rather than being absorbed, you can use slightly stronger solutions without worrying about damage. The goal here is to break down the dye using common household items that cut through grease and grime effectively.


- Rubbing Alcohol: This is often the most effective option. Dampen a soft cloth or cotton ball with rubbing alcohol and gently blot the stain. Avoid rubbing vigorously, as this can spread the dye. As the alcohol breaks down the pigment, the color will begin to lift onto the cloth.
- Vinegar Solution: Mix equal parts white vinegar and water in a small bowl. Apply the solution to the affected area using a spray bottle or cloth. The mild acidity helps to neutralize and dissolve the dye particles.
- Baking Soda Paste: For stubborn spots, create a paste by mixing baking soda with a few drops of water. Gently scrub the paste onto the stain with a soft-bristled toothbrush. The mild abrasiveness of the baking soda helps lift the color without scratching the finish.
For Raw or Unfinished Wood
Unfinished wood is porous and will absorb the coloring deep into the grain, making surface cleaning ineffective. In these cases, you need to get below the stain by lightly sanding the damaged area or using a wood bleach to neutralize the pigment. Unlike finished surfaces, you have the opportunity to treat the wood more aggressively since you are working to remove the stain from within the material itself.
- Sanding: If the stain has not penetrated too deeply, use fine-grit sandpaper (220 grit) to gently sand away the top layer of wood. Follow the grain of the wood to avoid creating new scratches. Be cautious not to sand too deeply, as this will remove a significant amount of material.
- Oxalic Acid: For deeper, set-in stains, wood bleach containing oxalic acid is highly effective. Follow the manufacturer's instructions carefully and ensure you are in a well-ventilated area. This chemical will bleach the wood, removing the discoloration without altering the surrounding grain pattern.
Blotting: The Golden Rule
Regardless of the material or the cleaning agent you select, the technique you use is just as important as the solution itself. The instinctive reaction is often to scrub the stain aggressively, but this is counterproductive. Scrubbing pushes the dye deeper into the surface fibers or the pores of the wood, making the stain larger and more difficult to remove.


Instead, you must use a blotting motion. Imagine you are lifting the stain straight up and away from the surface. Take your cloth, sponge, or cotton ball and press it firmly against the colored area. Hold it there for a few seconds to absorb the liquid, then lift it straight up. Re-dampen your tool and repeat the process until no more color transfers onto your cleaning tool. Patience is key; this process may take several minutes, but it yields the best results.
Neutralizing and Protecting the Surface
Once the stain is completely gone, your work is only half done. Residual cleaning agents, especially alcohol and vinegar, can strip the existing finish or wax, leaving the wood vulnerable to future damage and water rings. It is essential to restore the protective barrier that you temporarily compromised during the cleaning process.
For tables with a polyurethane or varnish finish, a quick wipe down with a damp cloth usually suffices to remove any chemical residue. For wooden tables that have been stripped of their wax or oil finish during cleaning, you should apply a fresh coat of furniture oil or wax. This not only returns the luster to the surface but also ensures that the next time a spill happens, the liquid beads up rather than soaking in.


Prevention for the Future
To avoid repeating this process, consider implementing a few preventative strategies in your dining or craft area. Using coasters and placemats is the most straightforward way to protect the surface from direct contact with potentially staining liquids. If the coloring came from a craft project, consider placing a silicone baking mat or a sheet of protective paper under the work area to catch any drips or spills before they reach the table surface.
Additionally, having a cleaning kit specifically for the table makes response time faster. Keeping a small bottle of isopropyl alcohol, a spray bottle of diluted vinegar, and a few soft microfiber cloths within easy reach ensures that you can address accidental spills immediately, often preventing a stain from setting in at all.


Related Articles

Remove Food Coloring from Sheets: Easy Stain Removal Guide
Accidental spills on bed linens are an inevitable part of home life, and few are more frustrating than a vibrant streak of food coloring marring an otherwise...
How to Get Food Coloring Off Table: Easy Stain Removal Tips
Accidentally dropping food coloring on your dining table can feel like a disaster, but it is a common household challenge with several effective solutions...
How to Get Food Coloring Off the Table: Easy Stain Removal Tips
Discovering a smear of food coloring on your dining table can feel like a minor disaster, but it is a situation that is easily remedied with the right...

Does Food Coloring Stain Skin? Easy Removal Tips & Prevention
The vibrant hues of food coloring can transform a simple cake batter into a festive masterpiece, but when that color lands on your skin, it can feel like an...

How to Remove Red Food Coloring from Clothes: Easy Stain Removal Tips
Few mishaps are as stressful as watching a vibrant red droplet spread across your favorite shirt. Whether it is from a celebratory dessert or a misguided craft...
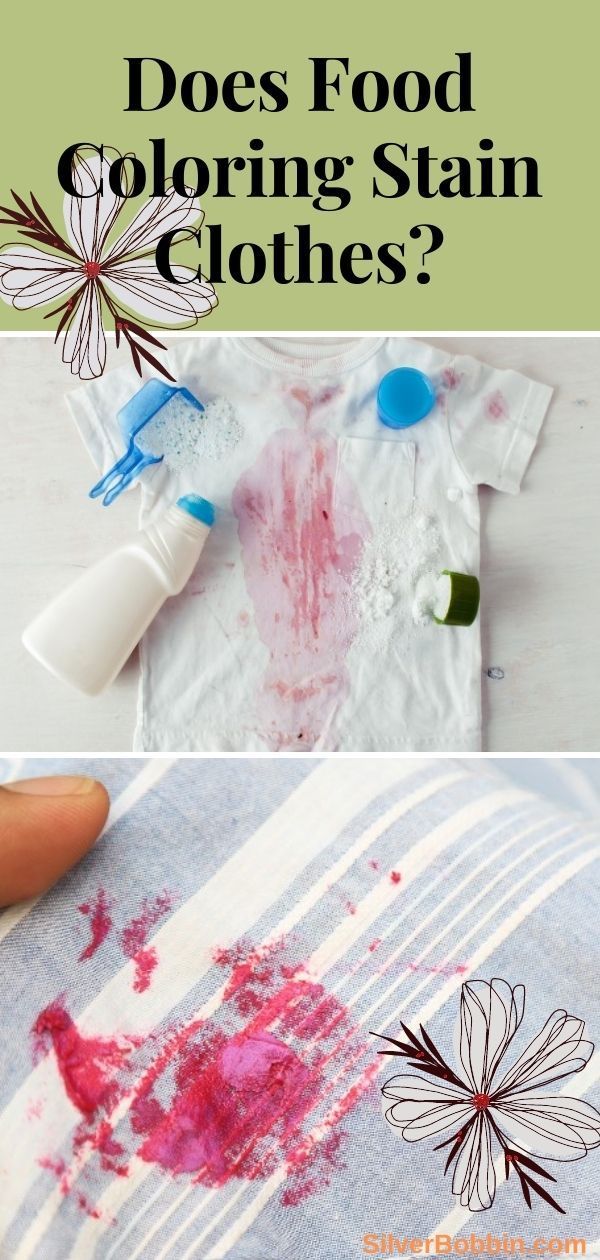
Is Food Coloring Permanent on Clothes? Ultimate Stain Removal Guide
The short answer to whether food coloring is permanent on clothes is a definitive no, but the reality is far more nuanced. While these dyes are designed to...