How to Get Food Coloring Out of White Fabric: Stain Removal Secrets
Removing food coloring from white fabric can feel like a daunting task, but with the right approach, it is entirely possible to restore your textiles to their original state. Whether it's a vibrant red from a birthday cake or a deep blue from a family picnic, acting quickly and using the correct method is key to preventing the dye from setting permanently.
Immediate Action is Crucial
The first and most critical step in the process happens the moment the spill occurs. The longer the dye remains on the fabric, the more time it has to bond with the fibers, making removal significantly harder. As soon as you notice the stain, you should turn the garment inside out and flush the back of the stain with cold running water. This technique pushes the dye out of the fabric rather than driving it deeper, and it is far more effective than rubbing the front of the stain, which can cause the color to spread.
Pre-Treatment Solutions
Before throwing the item into the wash, you need to apply a targeted pre-treatment to break down the dye molecules. A high-quality liquid laundry detergent applied directly to the stain works well for fresh marks; gently work it into the fibers and let it sit for five to ten minutes before rinsing. For older or more stubborn stains, you will need a stronger agent like rubbing alcohol, a clear alcohol-based hand sanitizer, or a specialized stain remover. Apply the alcohol to a clean cloth and blot the stain from the outside in to prevent bleeding, repeating the process until the color begins to lift.



Washing and Drying
Once you have pre-treated the affected area, place the item in the washing machine using the hottest water setting recommended on the care label for the specific fabric. Heat is essential because it helps to dissolve and rinse away the remaining dye particles. Add your regular detergent along with a scoop of oxygen-based bleach, such as OxiClean, which is safe for whites and effective at lifting remaining color without damaging the material. Inspect the garment immediately after the cycle finishes; if the stain is still faintly visible, repeat the treatment process before moving to the next step.
Heat is the enemy when dealing with set-in stains, which is why you should absolutely avoid placing the garment in the dryer until you are confident the stain is gone. The high temperatures of a dryer will essentially bake the remaining dye into the fibers, rendering it nearly impossible to remove in future washes. If the stain persists, repeat the pre-treatment and washing steps, air-drying the fabric in between attempts to ensure you do not seal the color in permanently.


Fabric-Specific Considerations
Not all white fabrics are created equal, and the material of your garment dictates the intensity of the treatment you can use. Delicate materials like silk, wool, or lace require a gentle approach; avoid harsh alcohols and instead opt for a mild soap and cool water, handling the area with care to prevent stretching or felting. For durable synthetics like polyester or nylon, you have a bit more flexibility with stronger solvents and higher wash temperatures, but you should always check for colorfastness in an inconspicuous area first to ensure the fabric does not bleed.
| Fabric Type | Recommended Approach | Avoid |
|---|---|---|
| Cotton / Linen | Hot water, oxygen bleach, rubbing alcohol | Chlorine bleach on colored stains |
| Silk / Wool | Cold water, mild detergent, professional cleaning | Heat, harsh chemicals, vigorous rubbing |
| Synthetic (Polyester) | Warm water, enzyme cleaners, alcohol | High heat if stain remains |
Ultimately, patience and persistence are the most valuable tools in the stain removal process. By following these steps methodically—moving from cold water rinsing to targeted treatment and careful washing—you maximize your chances of rescuing your favorite white garment. Remember to check the stain thoroughly before drying, and you will significantly increase the likelihood of a successful restoration.


Related Articles
Remove Food Coloring from White Clothes: Quick Stain Removal Tips
Few laundry mishaps are as stressful as discovering vibrant food coloring on your white clothes. Whether it is a stray drop from a birthday cake or a spill...
Remove Food Coloring from Sheets: Easy Stain Removal Guide
Accidental spills on bed linens are an inevitable part of home life, and few are more frustrating than a vibrant streak of food coloring marring an otherwise...

How to Get Red Food Dye Out of White Shirt: Easy Stain Removal Tips
Discovering a vibrant streak of red food dye on your favorite white shirt can feel like a fashion disaster. This type of stain is particularly tricky because...
Does Food Coloring Stain Skin? Easy Removal Tips & Prevention
The vibrant hues of food coloring can transform a simple cake batter into a festive masterpiece, but when that color lands on your skin, it can feel like an...
How to Remove Red Food Coloring from Clothes: Easy Stain Removal Tips
Few mishaps are as stressful as watching a vibrant red droplet spread across your favorite shirt. Whether it is from a celebratory dessert or a misguided craft...
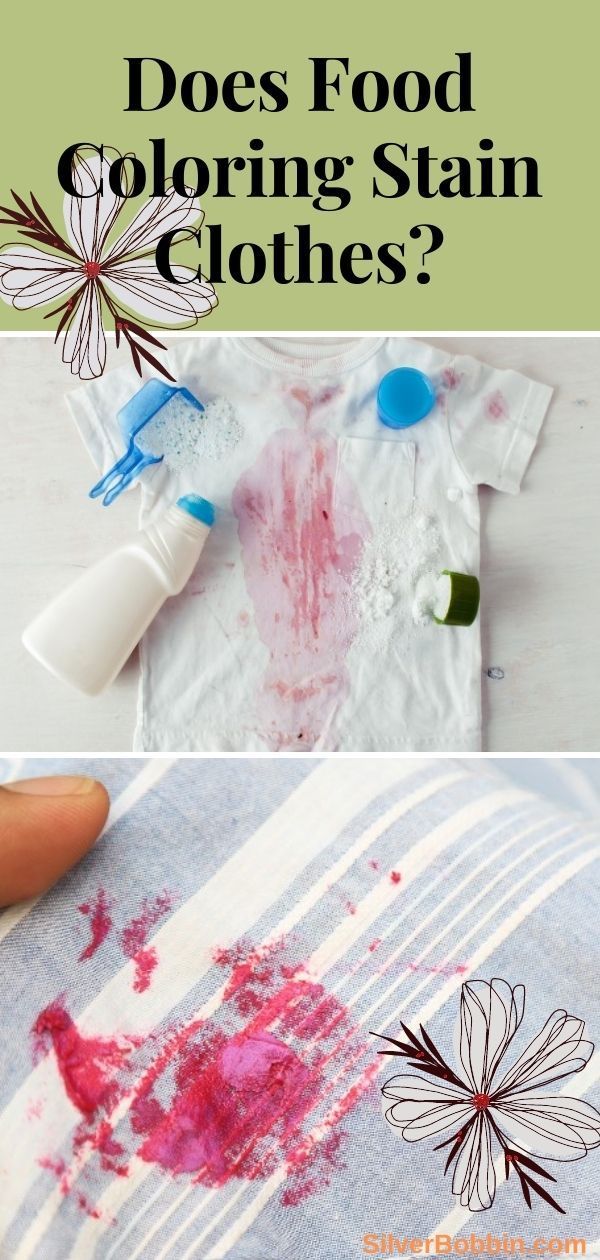
Is Food Coloring Permanent on Clothes? Ultimate Stain Removal Guide
The short answer to whether food coloring is permanent on clothes is a definitive no, but the reality is far more nuanced. While these dyes are designed to...