How to Get Unwanted Dye Out of Clothes: The Ultimate Stain Removal Guide
Discovering a smear of unwanted dye on your favorite shirt can feel like a minor disaster, but it is not a lost cause. The key to successfully rescuing your fabric lies in understanding the nature of the stain and the material you are dealing with. Acting quickly is always the best policy, as fresh dye is significantly easier to lift than dye that has had time to set into the fabric fibers. This guide provides a structured approach to tackling these tricky stains with confidence and care.
Identifying the Culprit and the Fabric
The first critical step is to identify both the source of the dye and the type of fabric you are treating. Was the transfer from a new pair of jeans, a bold-colored scarf, or perhaps a leaking pen? Different dye sources react differently to solvents and cleaning agents. Equally important is checking the garment's care label; you must never use a method that involves heat or harsh chemicals on delicate fabrics like silk or wool, as this can cause permanent damage. Treating a cotton T-shirt requires a different approach than attempting to save a delicate synthetic blend.
Testing for Colorfastness
Before applying any cleaning solution to the visible area, you must test for colorfastness. Apply a small amount of your chosen solvent—such as rubbing alcohol or vinegar—to an inconspicuous area of the garment, like an inside seam or hem. Gently blot the spot with a clean white cloth and check for any color transfer onto the cloth. If the dye bleeds onto the white cloth, you need to proceed with extreme caution or seek a professional cleaner to avoid ruining the item entirely.


Removing Fresh Dye Stains
If the dye is still wet, your fight is significantly easier. The primary goal here is to lift the liquid dye before it bonds to the fabric. Avoid rubbing the stain, as this spreads it and grinds it deeper into the fibers. Instead, you should blot the area gently with a clean, absorbent cloth or paper towel to soak up as much excess dye as possible. Rinse the back of the stain with cold water, pushing the dye out from the fabric rather than driving it deeper.
Dish Soap and Water for Fresh Spills
For fresh water-based dyes, such as ink from a pen or dye from a wet marker, dish soap is often highly effective. Apply a few drops of clear, liquid dish soap directly to the stain while it is still damp. Gently work the soap into the fabric using your fingers or a soft-bristled toothbrush, being careful not to fray the material. Allow it to sit for about five to ten minutes to break down the dye, then rinse thoroughly with cold water to see if the stain has lifted.


Treating Set-In Dye Stains
Dealing with a dye that has already dried and set is a more stubborn process. These stains require solvents capable of breaking down the dye molecules that are now locked into the fabric. Rubbing alcohol is one of the most common and effective agents for this task, particularly for stains from ink, hair dye, or color-transfer from clothing. You must be careful to use the correct type of alcohol and to protect the surrounding fabric.
Using Rubbing Alcohol
To use rubbing alcohol, place the stained area face down on a clean paper towel or cloth. This setup is crucial because it prevents the dye from transferring to other parts of the garment as it lifts. Dip a cotton ball or soft cloth into the alcohol and carefully blot the stain from the back of the fabric. Continue blotting, moving to a clean section of the towel frequently to capture the lifted dye. Repeat the process until no more color transfers onto the towel.
Alternative Solvents and Household Items
Not everyone has rubbing alcohol on hand, or the specific dye might react poorly to it. In such cases, there are several effective alternatives found in most homes. Vinegar is a mild acid that can help break down some types of dye, particularly from washable fabrics. Hydrogen peroxide is a good option for tough stains on white or light-colored cotton, as it acts as a mild bleach. Always remember to test these solutions first and use them in a well-ventilated area.


Vinegar and Ammonia Solutions
For a potent homemade mixture, combine one part white vinegar with one part ammonia and one part water. Apply this solution to the stain using a clean cloth, let it sit for about thirty minutes, and then rinse it out thoroughly with cold water. This blend is strong, so it is vital to use it only on durable fabrics like cotton or polyester and to rinse it completely to avoid any residual odor or damage to the material.
Washing and Final Inspection
Once you believe the stain is gone, do not immediately put the garment in the dryer. Heat from a dryer will permanently set any remaining dye into the fabric, making the stain impossible to remove later. Wash the item separately in the warmest water recommended on the care label using your regular laundry detergent. This step helps to eliminate any loosened dye particles that might still be lingering in the fabric. Check the stain carefully once the wash cycle is complete; if it is still faintly visible, repeat the treatment process before drying.
When to Seek Professional Help
Despite your best efforts, some stains are too aggressive or the fabric is too delicate for home treatment. If you are working with a valuable garment, a stubborn stain on a natural fiber like silk or wool, or if the dye has covered a large portion of the clothing, it is time to consult a professional dry cleaner. These experts have access to industrial-grade solvents and the experience necessary to handle complex dye removal without compromising the integrity of your clothing.


Related Articles
How to Remove Unwanted Dye from Clothes: Easy Stain Removal Guide
Discovering a smear of unwanted dye on your favorite shirt can feel like a minor disaster, but it is not a lost cause. Whether the color transferred during a...

Removing Dye Transfer from Clothes: The Ultimate Stain Removal Guide
Discovering a dye transfer on your favorite shirt or dress can feel like a laundry disaster, but it is not necessarily a permanent one. Whether the color bled...
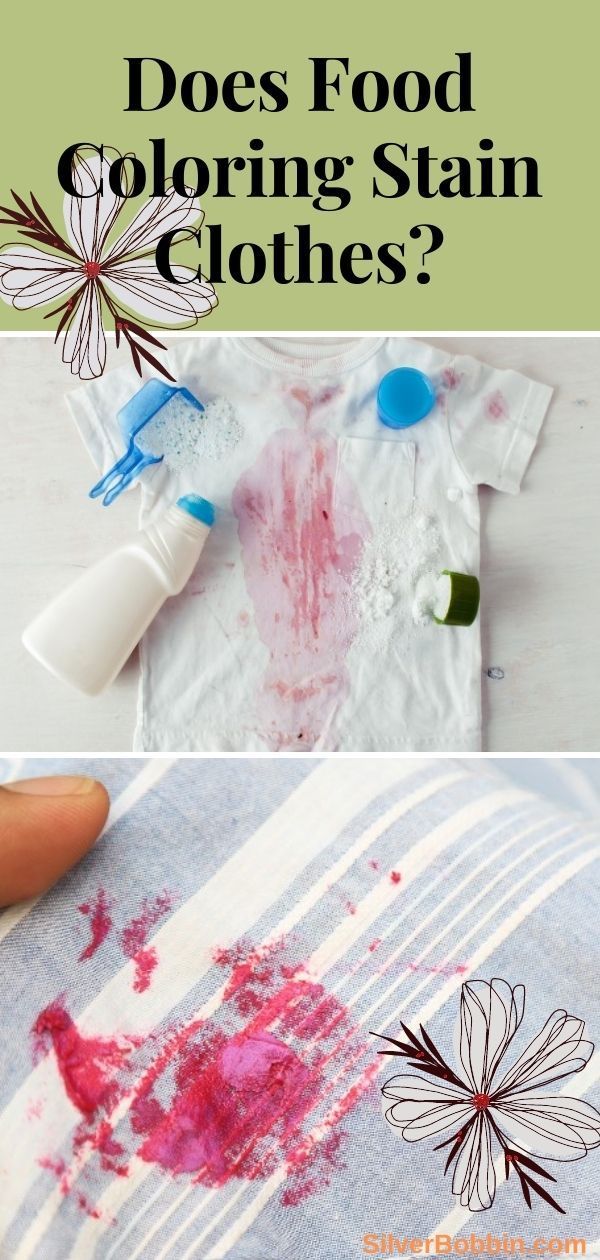
Is Food Coloring Permanent on Clothes? Ultimate Stain Removal Guide
The short answer to whether food coloring is permanent on clothes is a definitive no, but the reality is far more nuanced. While these dyes are designed to...

Ariel Professional Liquid: Ultimate Stain Removal Guide
For professionals in the cleaning and maintenance industry, selecting the right chemical partner is non-negotiable. Ariel Professional Liquid represents a...

How to Get Pink Dye Out of White Clothes: Stain Removal Guide
Discovering a vibrant pink stain on your favorite white garment can feel like a disaster, but it is entirely salvageable with the right approach. The key to...

Remove Red Stain from White Sheets: The Ultimate Stain Removal Guide
Few laundry mishaps are as disheartening as pulling a batch of sheets from the wash to find tell-tale red stains marring your once-pristine white linen...