How to Paint Wood Grain with Acrylics: Realistic Wood Look Tutorial
With the versatility of acrylic paint, convincingly mimicking the warmth and texture of real wood is entirely achievable, even for beginners. This guide breaks down the essential techniques, from surface prep to the meticulous layering that creates believable grain. The goal is to move beyond a flat finish and capture the depth, character, and tactile quality of natural timber using a medium that dries quickly and adheres to almost anything.
Before a single brush touches the paint, the foundation determines the success of your faux wood finish. Proper preparation ensures adhesion, prevents bleed-through, and provides the ideal canvas for your grain work. Skipping these steps often leads to a finish that looks plasticky or peels prematurely under stress.
Essential Materials for Authentic Wood Effects
Gathering the right tools is the first step toward a professional-looking result. While you can get started with a basic set, investing in quality materials will significantly impact the texture and longevity of your finish.


- High-quality acrylic paints in earth tones like burnt sienna, raw umber, and titanium white.
- Assorted flat and filbert synthetic brushes for stippling and dry brushing.
- A soft sponge or sea sponge for texture application.
- Fine-grit sandpaper (220-400 grit) for surface smoothing.
- A high-quality gesso or bonding primer specifically designed for non-porous surfaces.
- Matte or satin clear sealant to protect the final piece from scratches.
Preparing the Surface for Maximum Adhesion
Whether you are working on raw wood, MDF, or a non-porous item like plastic or glass, the surface must be receptive to the paint. A smooth, slightly porous surface allows the paint to grip, while a primer unifies the base tone and prevents the substrate from altering the final color.
Begin by cleaning the surface to remove any dust or oils. If working with a slick material, lightly scuff it with sandpaper to create micro-abrasions for the primer to latch onto. Apply one or two coats of gesso or a dedicated adhesion promoter, sanding lightly between coats with fine-grit paper to achieve a glass-like smoothness that is ready for detailing.


Mixing the Perfect Wood Tones
Real wood is not a single color; it is a complex amalgamation of deep shadows and bright highlights. To mix convincing wood tones, you must move beyond simple brown and black. Start with a light ochre or beige base as your mid-tone, which will represent the bare wood color.
Create your shadows by mixing the base tone with burnt umber and a touch of Payne's Grey. For your highlights, combine the base with a generous amount of white and a hint of yellow ochre. Keep these mixtures slightly off-black and off-white; true wood tones are rarely pure, and this subtlety is what prevents the finish from looking like a child's craft project.
Technique 1: The Base Coat and Grain Staining
Begin by applying your mid-tone color as the base coat using a flat brush. Work in the direction of the grain you intend to create. While this layer is still tacky, dilute your dark tone significantly with water or a medium until it resembles a watery ink. Brush this wash over the surface and immediately wipe away the excess with a clean paper towel.


This "stain" technique allows the dark pigment to settle into the recesses you will later carve into the surface, creating instant depth. The goal is not to cover the mid-tone entirely but to allow it to show through the dark, mimicking how stain sinks into the porous parts of real lumber.
Technique 2: Simulating Grain with Dry Brushing
Once the washed layer is dry, it is time to introduce the illusion of texture. Using a dry brush, dip the very tip into your highlight mixture and wipe off almost all the pigment onto a paper towel until the brush is nearly bare. Drag this lightly loaded brush over the surface in short, irregular strokes that follow the grain pattern.
This dry brushing technique catches the raised areas of the surface, simulating the high points of the wood where light naturally hits. Vary the pressure and direction of your strokes to avoid a repetitive pattern; natural wood grain is organic and unpredictable, so your application should be, too.


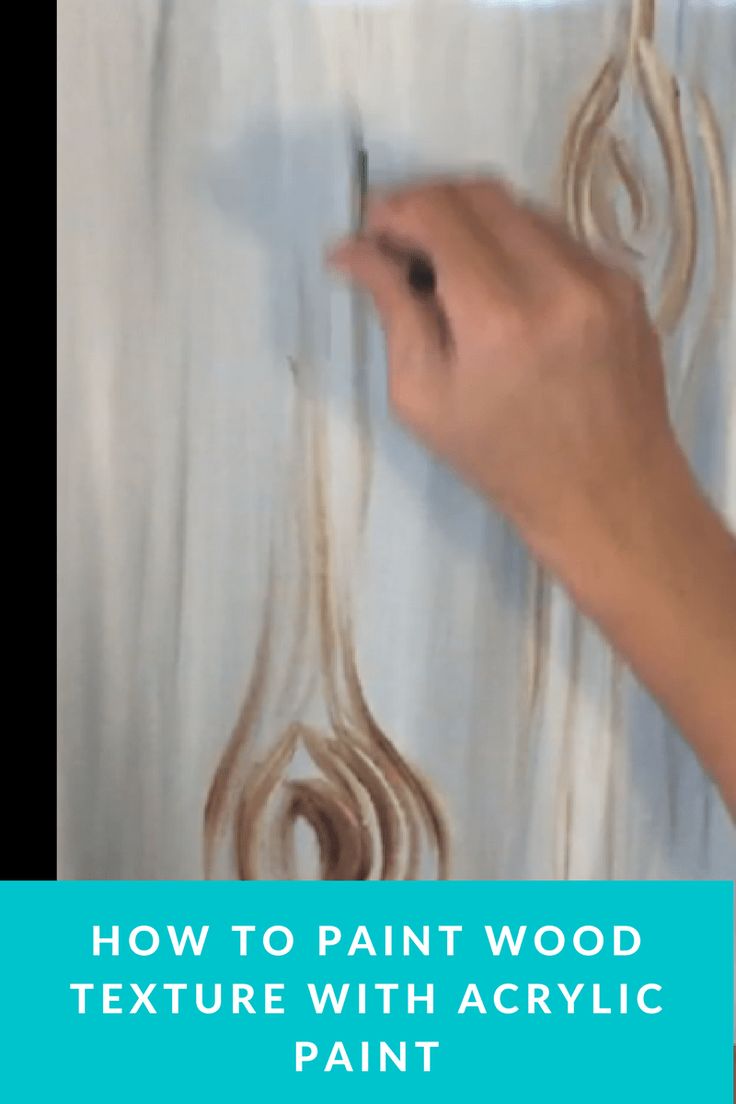


Adding Dimension with a Sponge
For high-relief texture, a sponge is an invaluable tool. After your base and dry-brushed layers are complete, tear a small piece of a sea sponge and dip the torn edges into a mix of your base tone and a bit of white. Pounce the sponge lightly onto the surface, focusing on the areas between the grain lines.
This creates the visual effect of porous grain and knots. Immediately blot the area with a clean, dry paper towel to lift some of the pigment back, which prevents the look from becoming too muddy. Building up these textured layers gradually is the secret to achieving a three-dimensional, realistic look rather than a flat decal.
Finishing and Protecting the Faux Wood
The final step is critical for durability and enhancing the depth of your work. A protective sealant locks in the layers you have worked so hard to create and protects the finish from moisture or scratches. For a natural look, a matte or satin polyurethane is often preferred, as it does not create a glossy, plasticky sheen.
Apply the sealant with a clean, soft brush using long, even strokes that follow the grain. Allow the piece to cure fully before handling, and consider applying a second coat for high-traffic items. With this finish in place, your acrylic-painted wood will appear authentic and be resilient enough to last.
Related Articles
How to Paint Grain: Realistic Wood Grain Look DIY
Transforming a mundane surface into a convincing wood grain finish is a rewarding skill that blends artistry with technique. Whether you are refreshing old...

How to Paint a Garage Door to Look Like Wood Grain: Easy DIY Tutorial
Transforming a standard metal or fiberglass garage door into a warm, inviting wood grain surface is a highly effective way to boost your home's curb appeal...
How to Paint Something to Look Like Real Wood: Easy Wood Grain Techniques
Transforming a mundane object into a convincing wood grain illusion is a rewarding technique that combines preparation, strategic texturing, and careful...
How to Paint Furniture to Look Like Real Wood Grain: Easy DIY Tutorial
Transforming a piece of MDF or laminate into authentic-looking wood grain is a rewarding endeavor that bridges the gap between thrift store find and high-end...
How to Paint Wood to Look Like Light Wood: Easy Techniques
Learning how to paint something to look like light wood is a transformative skill that bridges the gap between budget-friendly materials and high-end design...

Master Realistic Water with Acrylics: A Step-by-Step Painting Tutorial
Capturing the fluid, reflective nature of water with acrylics is one of the most rewarding challenges in painting. Unlike oils, which stay wet for hours...