How to Remove Food Coloring from Clothing: Quick & Easy Stain Removal Guide
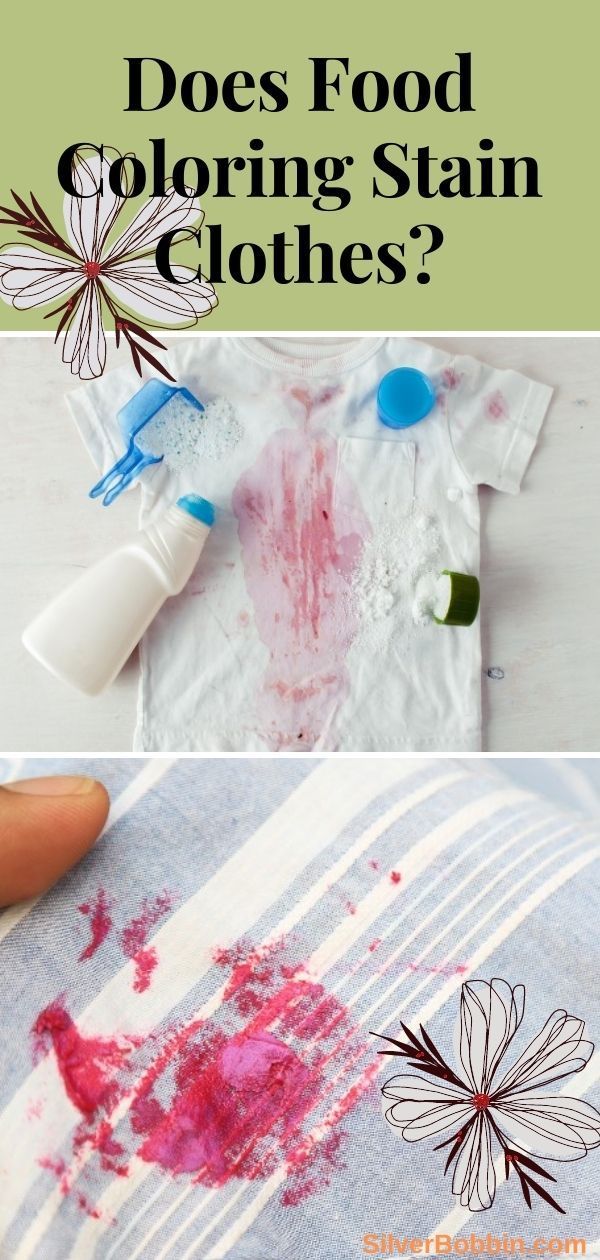
Few things are more frustrating than discovering a vibrant smear of food coloring on your favorite shirt or apron. Whether it is from a birthday cake project, a festive holiday meal, or a curious child’s cooking experiment, these stains are uniquely vivid and notoriously stubborn. Unlike typical food spills, food coloring is designed to bind to proteins and fabrics, making it a formidable cleaning challenge. However, removing food coloring from clothing is entirely possible with the right techniques and a methodical approach. The key is to act quickly and to choose a treatment that breaks down the dye without damaging the fabric fibers.
Before you reach for the cleaning agents, you must pause and check the care label. This step is critical because the wrong solution can set the stain permanently or destroy delicate materials. For synthetic fabrics like polyester or nylon, warm water and standard detergents are usually safe, but protein-based fabrics such as wool and silk require a much gentler touch. Hot water is often a enemy rather than a friend, as it can cause the dye to set deeper into the fibers. Regardless of the fabric type, always place a towel or old cloth underneath the stained area to prevent the dye from bleeding through to the back side of the garment during the treatment process.
Understanding the Stain
Why Food Coloring Is Difficult
To effectively combat a food coloring stain, it helps to understand what you are up against. Food coloring is a water-soluble dye engineered to adhere to surfaces and retain its vibrancy when exposed to moisture. This same property is what makes it so difficult to remove from clothing; the dye wants to bond with the fabric just as it bonded with the icing or batter initially. Furthermore, the porous nature of fabric threads traps these pigment particles, meaning surface-level wiping will only spread the stain. Successful removal relies on breaking the bond between the dye and the fiber and flushing it out before it can settle in.



Immediate Rinsing and Soaking
The First Flush
Your first line of defense is the simplest: running water. As soon as the staining occurs, hold the garment under a steady stream of cold water. The goal is to push the dye out of the fabric rather than driving it deeper. You should flush the stain from the back side, so the force of the water pushes the pigment out of the threads. If you are dealing with a fresh spill, this immediate pressure will lift a significant amount of the dye, potentially saving you a more intensive treatment later.
For set-in stains or larger areas, a deep soak is the next logical step. Fill a sink or bucket with cold water and add a heavy concentration of an enzyme-based laundry detergent. Submerge the garment and let it soak for a minimum of 30 minutes, or even overnight for severe stains. This extended dwell time allows the enzymes to break down the organic dye particles, making them easier to wash away. Avoid hot water at this stage, as heat will activate the dye and lock it into the fabric permanently.


Targeted Treatment Methods
Vinegar and Dish Soap Solution
For stubborn stains that survive the initial soak, you need a more aggressive cleaning solution. A mixture of white vinegar and dish soap is highly effective because it tackles the stain on two fronts. The dish soap acts as a powerful surfactant, breaking down the oily and waxy components that hold the dye to the fabric. The vinegar adds an acidic element that helps to neutralize alkalinity and lift the remaining pigment. To apply this treatment, mix one part dish soap with one part white vinegar, then gently rub the solution into the stain using your fingers or a soft cloth.
Rubbing Alcohol and Hydrogen Peroxide
When dealing with synthetic fabrics or particularly intense dye stains, you may need a stronger solvent. Rubbing alcohol is a fantastic choice because it breaks down the chemical structure of the dye without water. Apply rubbing alcohol directly to the stain using a cotton ball or spray bottle, blotting gently rather than rubbing aggressively, which can spread the color. For a secondary attack, hydrogen peroxide can be used as a natural bleaching agent on light-colored fabrics. It is vital to test this method on an inconspicuous seam first, as it can weaken fabric fibers over time if used excessively.
Washing and Final Checks
The Wash Cycle
After applying your chosen treatment, it is time to launder the garment. Wash the item on the hottest water setting recommended on the care label, as this heat will help to emulsify and remove any lingering dye. Add your regular laundry detergent and add a scoop of oxygen-based bleach if the fabric allows it. Oxygen bleach is a safe alternative to chlorine bleach, particularly for colored clothing, as it brightens fabrics without causing fading. Once the wash cycle is complete, inspect the garment before placing it in the dryer.



The Heat Trap
Never put the garment in the dryer until you are 100% certain the stain is gone. The high heat of a dryer will bake any remaining dye particles into the fabric, making the stain permanent and virtually impossible to remove. If the stain persists, repeat the soaking and treatment process. It is far better to take the time to treat the spot thoroughly than to ruin an entire piece of clothing with a single drying cycle. With patience and persistence, you can restore your garments to their original state and enjoy your favorite clothes without the ghost of a food coloring mishap.


Related Articles
Remove Food Coloring from Sheets: Easy Stain Removal Guide
Accidental spills on bed linens are an inevitable part of home life, and few are more frustrating than a vibrant streak of food coloring marring an otherwise...
How to Remove Red Food Coloring from Clothes: Easy Stain Removal Tips
Few mishaps are as stressful as watching a vibrant red droplet spread across your favorite shirt. Whether it is from a celebratory dessert or a misguided craft...
Remove Food Coloring from White Clothes: Quick Stain Removal Tips
Few laundry mishaps are as stressful as discovering vibrant food coloring on your white clothes. Whether it is a stray drop from a birthday cake or a spill...

Remove Red Food Dye from Clothes: Easy Stain Removal Guide
Few things are as frustrating as watching a vibrant red dessert leave its mark on your favorite shirt or tablecloth. Red food coloring, whether from a birthday...

How to Remove Rit Dye from Clothes: Quick & Easy Stain Removal Tips
Accidentally dye your clothes with RIT, and all is not lost. This intense colorant is famous for its power to transform fabric, but it can also leave behind a...
How to Remove Unwanted Dye from Clothes: Easy Stain Removal Guide
Discovering a smear of unwanted dye on your favorite shirt can feel like a minor disaster, but it is not a lost cause. Whether the color transferred during a...