How to Remove Food Coloring Stains: Easy Cleanup Tips
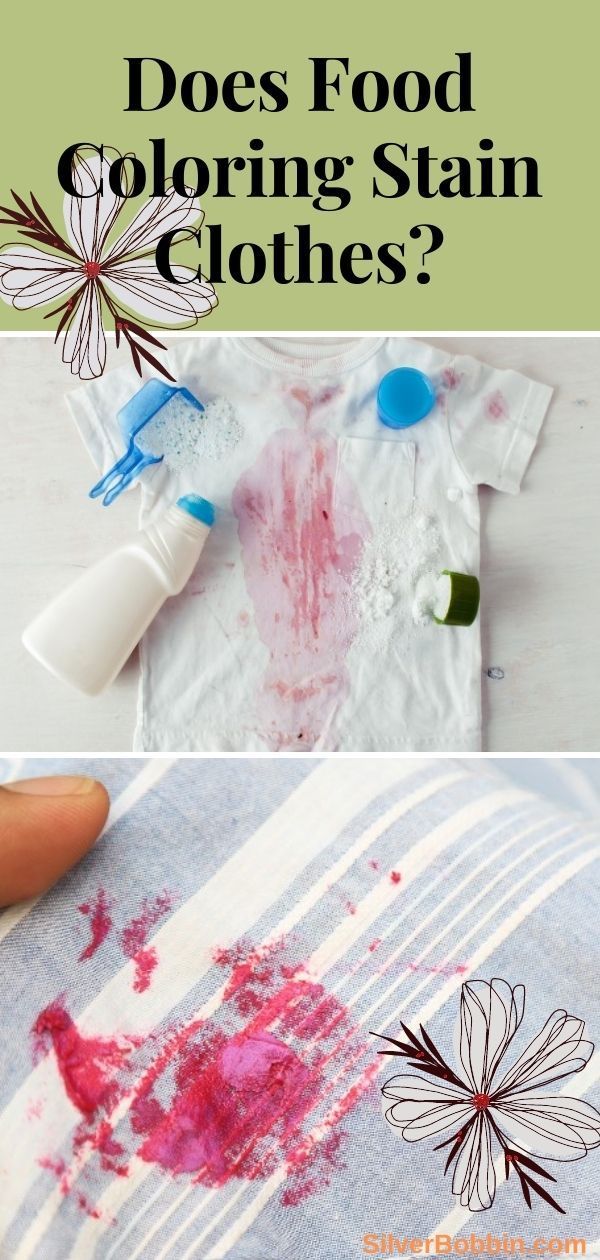
Few things are as frustrating as discovering a vibrant smear of food coloring on your favorite shirt, tablecloth, or kitchen counter. Whether it is from a birthday cake, a festive dessert, or a child’s art project, these stains are stubborn because the dye is designed to bind to surfaces. The key to success lies in acting quickly and using the right solvents to lift the color before it sets permanently.
Immediate Action for Fresh Stains
The most critical step in how to remove food coloring is the initial response. When the stain is still wet, you have the best chance of full removal. The primary goal here is to dilute and flush the dye away before it bonds with the fabric fibers or surface material. Avoid rubbing the area, as this grinds the pigment deeper, making the spot significantly harder to eliminate.
Flushing with Cold Water
For fabric or hard surfaces, hold the stain under a steady stream of cold water. flushing pushes the liquid dye out of the material rather than driving it inward. You should position the fabric so the dye flows out the back, preventing it from settling on the opposite side. For non-porous surfaces like tile or glass, simply rinse with cool water and wipe vigorously with a clean cloth to physically remove the pigment.



Treating Set or Dried Stains
If the food coloring has already dried, the process requires a bit more chemistry but remains straightforward. You need a solvent strong enough to break down the dye without damaging the substrate. While water is effective for fresh stains, dried food coloring often requires alcohol or specialized cleaners to release its grip on the surface.
Alcohol-Based Solutions
Isopropyl alcohol, commonly known as rubbing alcohol, is highly effective because it breaks down the chemical structure of the dye. To use this method, pour the alcohol onto a clean cloth and gently blot the stain. Start from the outer edge and work inward to prevent spreading. The alcohol will cause the color to leach onto the cloth, so be prepared to move to a clean section frequently until the stain disappears.


Vinegar and Dish Soap
A mixture of white vinegar and dish soap creates a powerful cleaning agent for porous materials like concrete or carpet. The acetic acid in vinegar helps to lift the pigment, while the dish soap acts as a surfactant that emulsifies the oil-based dyes. Combine one part vinegar with one part water, apply it to the spot, let it sit for a few minutes, and then scrub gently with a soft-bristled brush before rinsing.
Specialized Surface Applications
Different materials require tailored approaches to avoid discoloration or surface damage. What works brilliantly on a cotton t-shirt might strip the finish from a hardwood floor or discolor a porcelain sink. Understanding the specific substrate you are dealing with ensures that your cleaning efforts are effective and safe.
Laundry and Fabrics
When dealing with clothing, always check the care label before applying any chemical agent. Apply a liquid laundry detergent directly to the dry stain and gently work it in with your fingers. Allow it to sit for five to ten minutes to penetrate the fibers before washing. For whites, a drop of bleach can be incredibly effective, but you must ensure the garment is bleach-safe to avoid damage.


Hard Surfaces and Carpets
On sealed hardwood or laminate, test your cleaning solution in an inconspicuous area first to ensure it does not strip the finish. A paste of baking soda and water can act as a gentle abrasive for tough spots on tile. For carpets, a commercial enzyme cleaner is often the best solution, as it digests the organic dye particles rather than simply masking them with bleach.
| Surface | Recommended Method | What to Avoid |
|---|---|---|
| White Cotton Fabric | Bleach soak or detergent paste | Hot water on red or blue stains |
| Hardwood Floors | Damp cloth with mild soap | Vinegar or steam cleaners |
| Carpet | Enzyme-based cleaner | Heat drying until the stain is gone |
Prevention and Final Checks
Once you have successfully removed the stain, a final check ensures that the dye has been fully eradicated and not merely driven deeper into the material. Inspect the area under different lighting conditions, as faint residues can be hard to spot in bright light. Heat is the enemy of any stain treatment, so never place a fresh or damp garment in a dryer until you are certain the spot is completely gone.
By following these targeted steps, you can confidently handle any coloring mishap. The process transforms a potential disaster into a simple routine, preserving the quality of your belongings without the need for professional intervention.




Related Articles
How to Remove Food Coloring Stains from Clothes: Easy Tips & Tricks
Few things are more frustrating than finding a fresh splash of food coloring on a favorite shirt or an important tablecloth. Whether it is from a birthday...

Does Food Coloring Come Out of Hair? Easy Tips to Remove Dye Stains
Getting a vibrant dye job on your clothing, hands, or countertops is usually easy to clean, but the question "does food coloring come out of hair" is a source...
Remove Food Coloring from Skin Fast: Easy Tricks & Tips
Freshly baked cupcakes or a vibrant batch of frosting can turn a simple dessert into a celebration, but the colorful aftermath on your fingers often feels...
How to Remove Red Food Coloring from Clothes: Easy Stain Removal Tips
Few mishaps are as stressful as watching a vibrant red droplet spread across your favorite shirt. Whether it is from a celebratory dessert or a misguided craft...
How to Remove Blue Food Coloring from Skin: Easy Fixes & Tips
Accidentally getting blue food coloring on your skin is a common occurrence, particularly during baking, holiday decorating, or festive face painting...
How to Wash Food Coloring Off Skin: Easy Cleanup Tips
Removing food coloring from skin is a common challenge for home bakers, enthusiastic artists, and parents managing messy craft projects. The vibrant pigments...